Please view
https://andrewsmr2.github.io/one-thousand-words/
on a laptop / desktop computer.
Thanks!

Workshop
I’ve created a workshop that you can do on your own time (either by yourself or with others), as a way to spend a little more time with the topics of alt text / image description and to get a little more practice.
This workshop started out as a school assignment. I conducted a variation of this workshop twice with different groups of people but it started out as an in-person workshop geared towards other Graphic Designers who may or may not have ever heard of alt text. I wanted to introduce it as something designers can do to incorporate accessibility into their work.
Ultimately, I wanted to introduce the concept of alt text, explain it a little bit, and then give an opportunity to practice by making mini-zines.
When deciding to make this website, I wanted to adapt this workshop into something asynchronous- something someone could do on their own time, adapting it as they wish / need to.
*** NOTE: This workshop has only been conducted with sighted individuals (people with the ability to see) so far. Adjustments would need to be made for blind / low vision participants. Feel free to use this simply as a "starting-off point" and adjust things to fit your needs. ***
The workshop is hands on and requires some materials.
MATERIALS YOU’LL NEED:
- At least one magazine (you can use more if you have access to more and want more options to leaf through!)
- Piece of paper (printer paper, looseleaf- whatever you’d like)
- Glue or tape (something to attach magazine clippings on paper)
- Scissors
- Writing utensil(s)
Got your materials? Sweet - let's get started.
First off - what's a zine?
So, you'll be making mini-zines in this workshop. Some of you might be wondering what that is - and that's a good question!
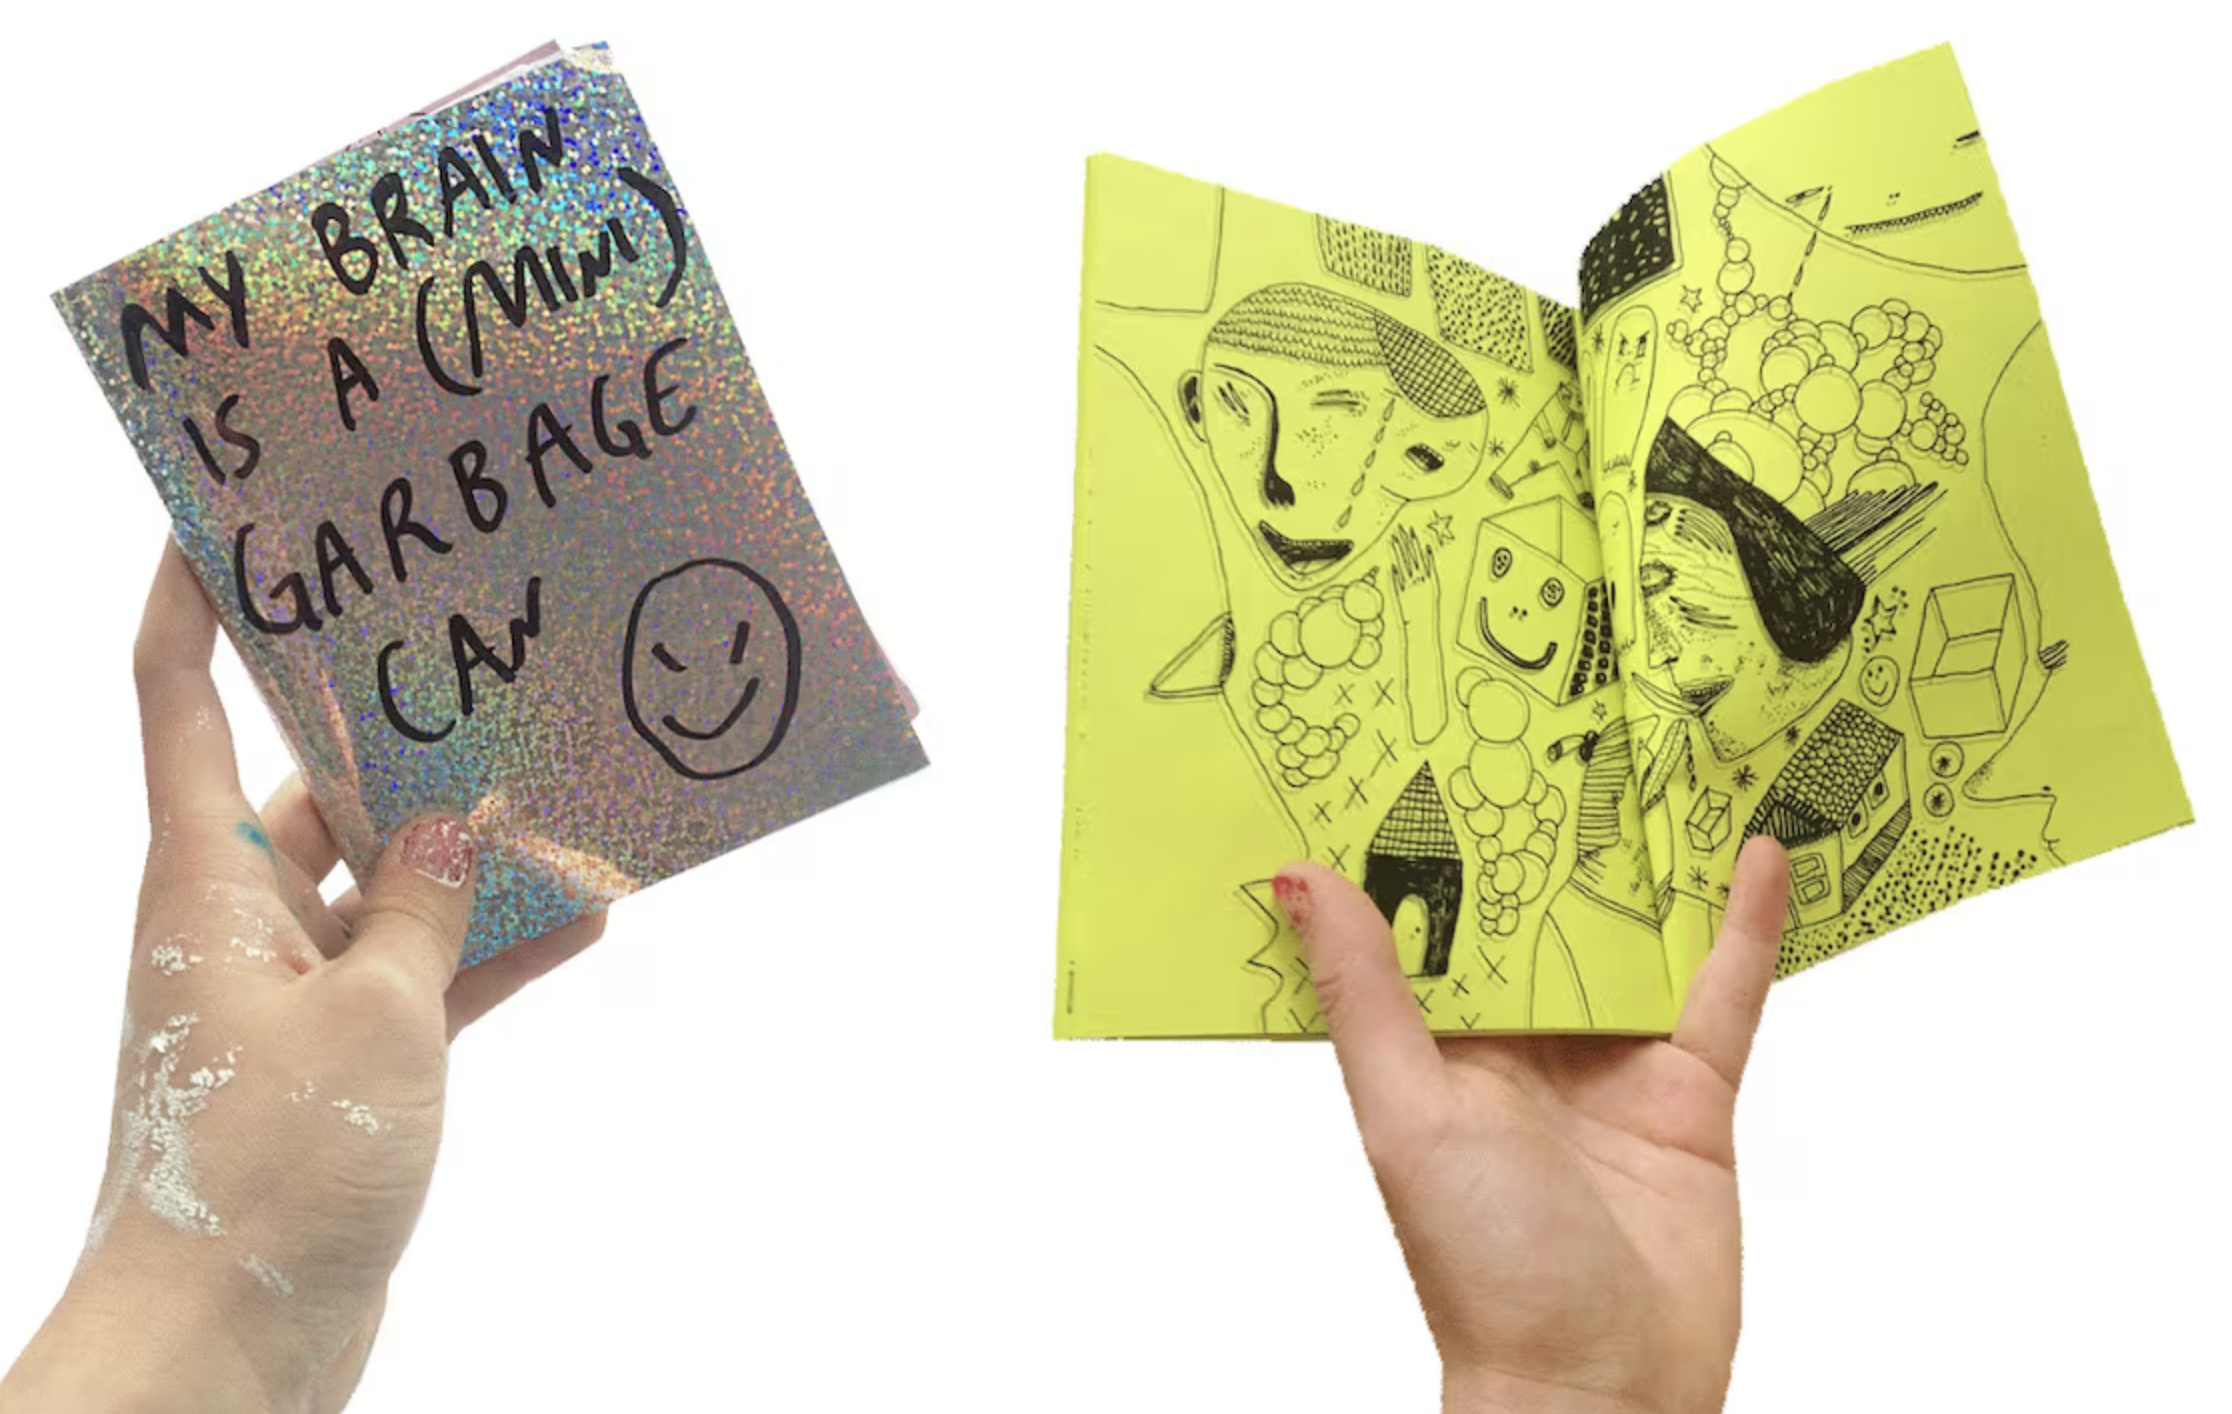
A zine (pronounced ‘zeen’) is a small, DIY publication made by individuals or small groups, often focusing on niche topics or personal expression.
- A zine can be literally whatever you want it to be- there are no rules.
- Traditionally, zines are usually a mix-n-match of text and images to spread whatever message you like.
- They can be printed or digital.
Here are some examples of some zines:
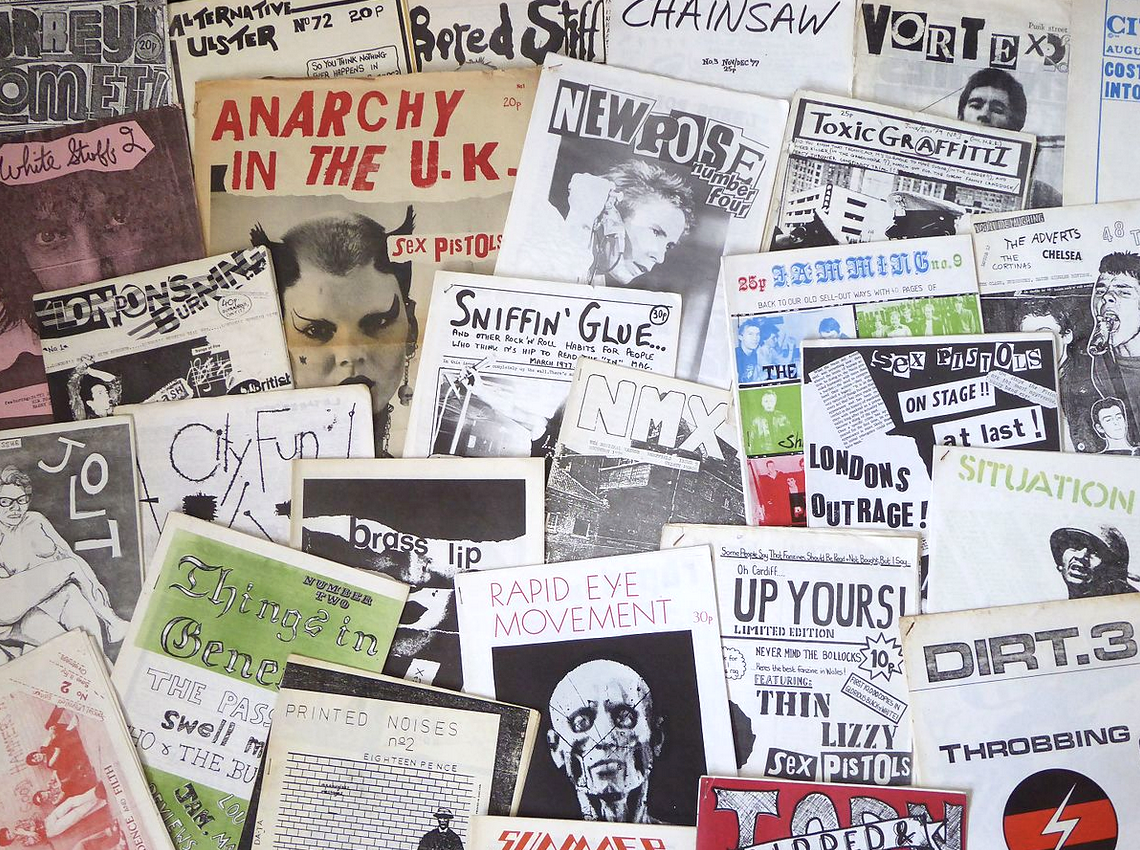
Image source
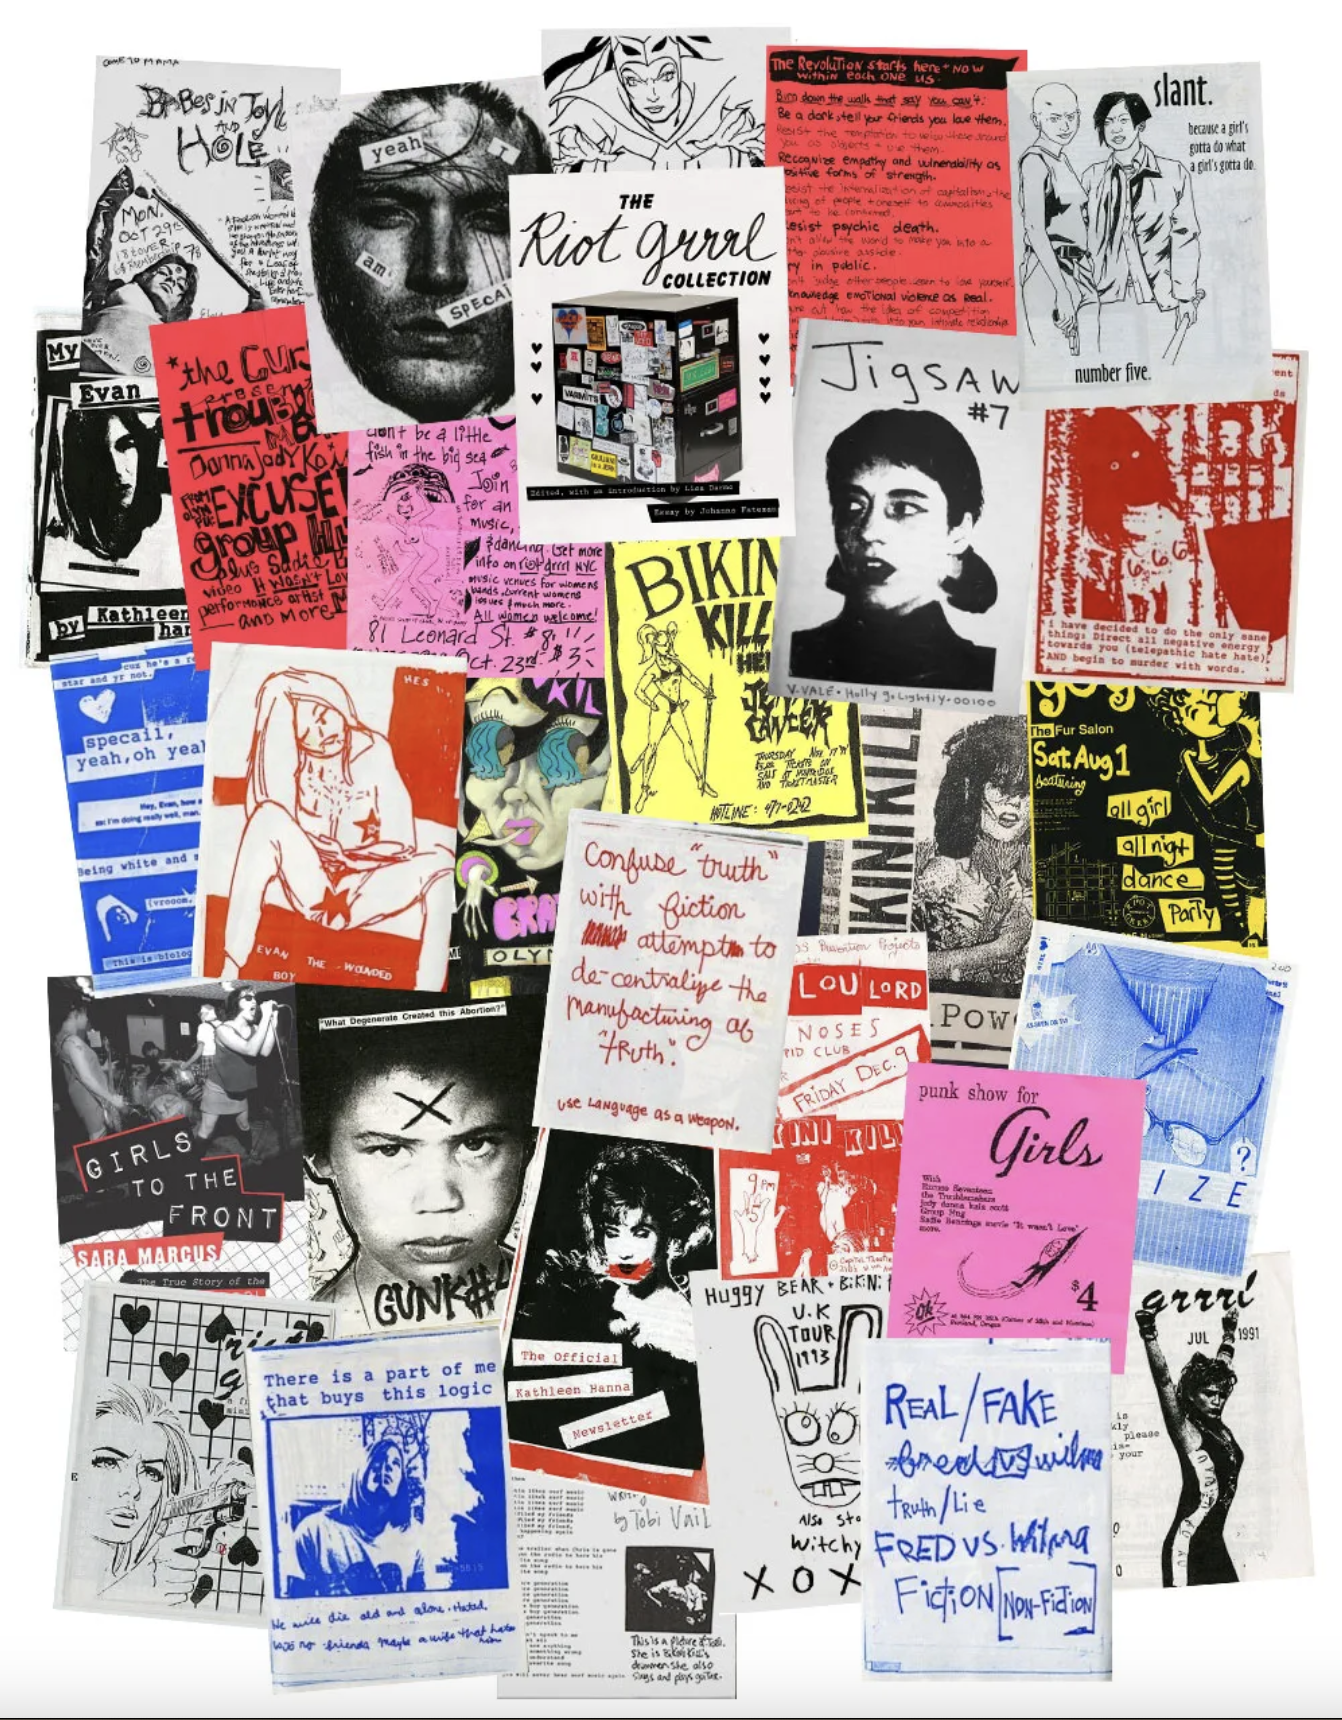
Image source
This youtube video does a good job in explaining what a zine is, in my opinion. The video is about 7 minutes in total, but you only need to watch the first minute and a half to get the gist (after that, they go on to show different examples of different types of zines).
A mini-zine is kind of what it sounds like - it's just a short zine.
In this workshop, I suggest making a mini-zine using a technique that only requires one sheet of paper. The technique I present involves folding that piece of paper in a way that makes it so that you don't need any staples or other materials to bind / create your zines.
That being said, there are so many different ways to make zines, and I encourage anyone reading this to adapt this workshop in any way they'd like to or see fit! No need to do this exactly as I suggest.
Step 1 - let's fold our zines
This youtube video shows how to fold your paper in order to make an 8 page mini-zine.
Basically, you want to fold your paper hot-dog style, then fold it again hamburger-style. After that, fold your paper one more time so that when you unfold your paper - there should be 8 little squares / sections (4 on each side).
After that - unfold your paper, then fold it one time hamburger style. Cut / rip the paper along the vertical crease, stopping halfway down.
After that comes the part that can sometimes be a bit tricky. Make sure your paper is folded one time hamburger style and grasp the left and right side of your paper, about halfway down (right at the horizontal crease). Turn each side outwards so that your paper ends up making a shape that looks like a plus sign (+).
Take the top and the bottom folds of the plus sign and fold them once towards the left, grasping 3 folds in your left hand and one in your right. Then take the remaining fold that's in your right hand and fold that towards the left. Go ahead and flatten down your creases and you're done!
Feel free to google "how to fold a mini-zine" in order to find other tutorials, if you are having trouble figuring out how to fold your zine! And like I mentioned before, you don't have to use this technique if you don't want to.
Step 2 - find images in magazines
Now that we've folded our mini-zines, we're going to find images in our magazine(s) to put into our zines. Leaf through your magazine(s) and find images that you want to try to describe. Cut these images out and glue / attach them to your zine.
*** NOTE: During this step, it can be helpful to look at the surrounding text (especially image captions) to get more context / info on the photos in your magazine(s). You'll also sometimes see some examples of descriptive language. ***
Step 3 - write your descriptions
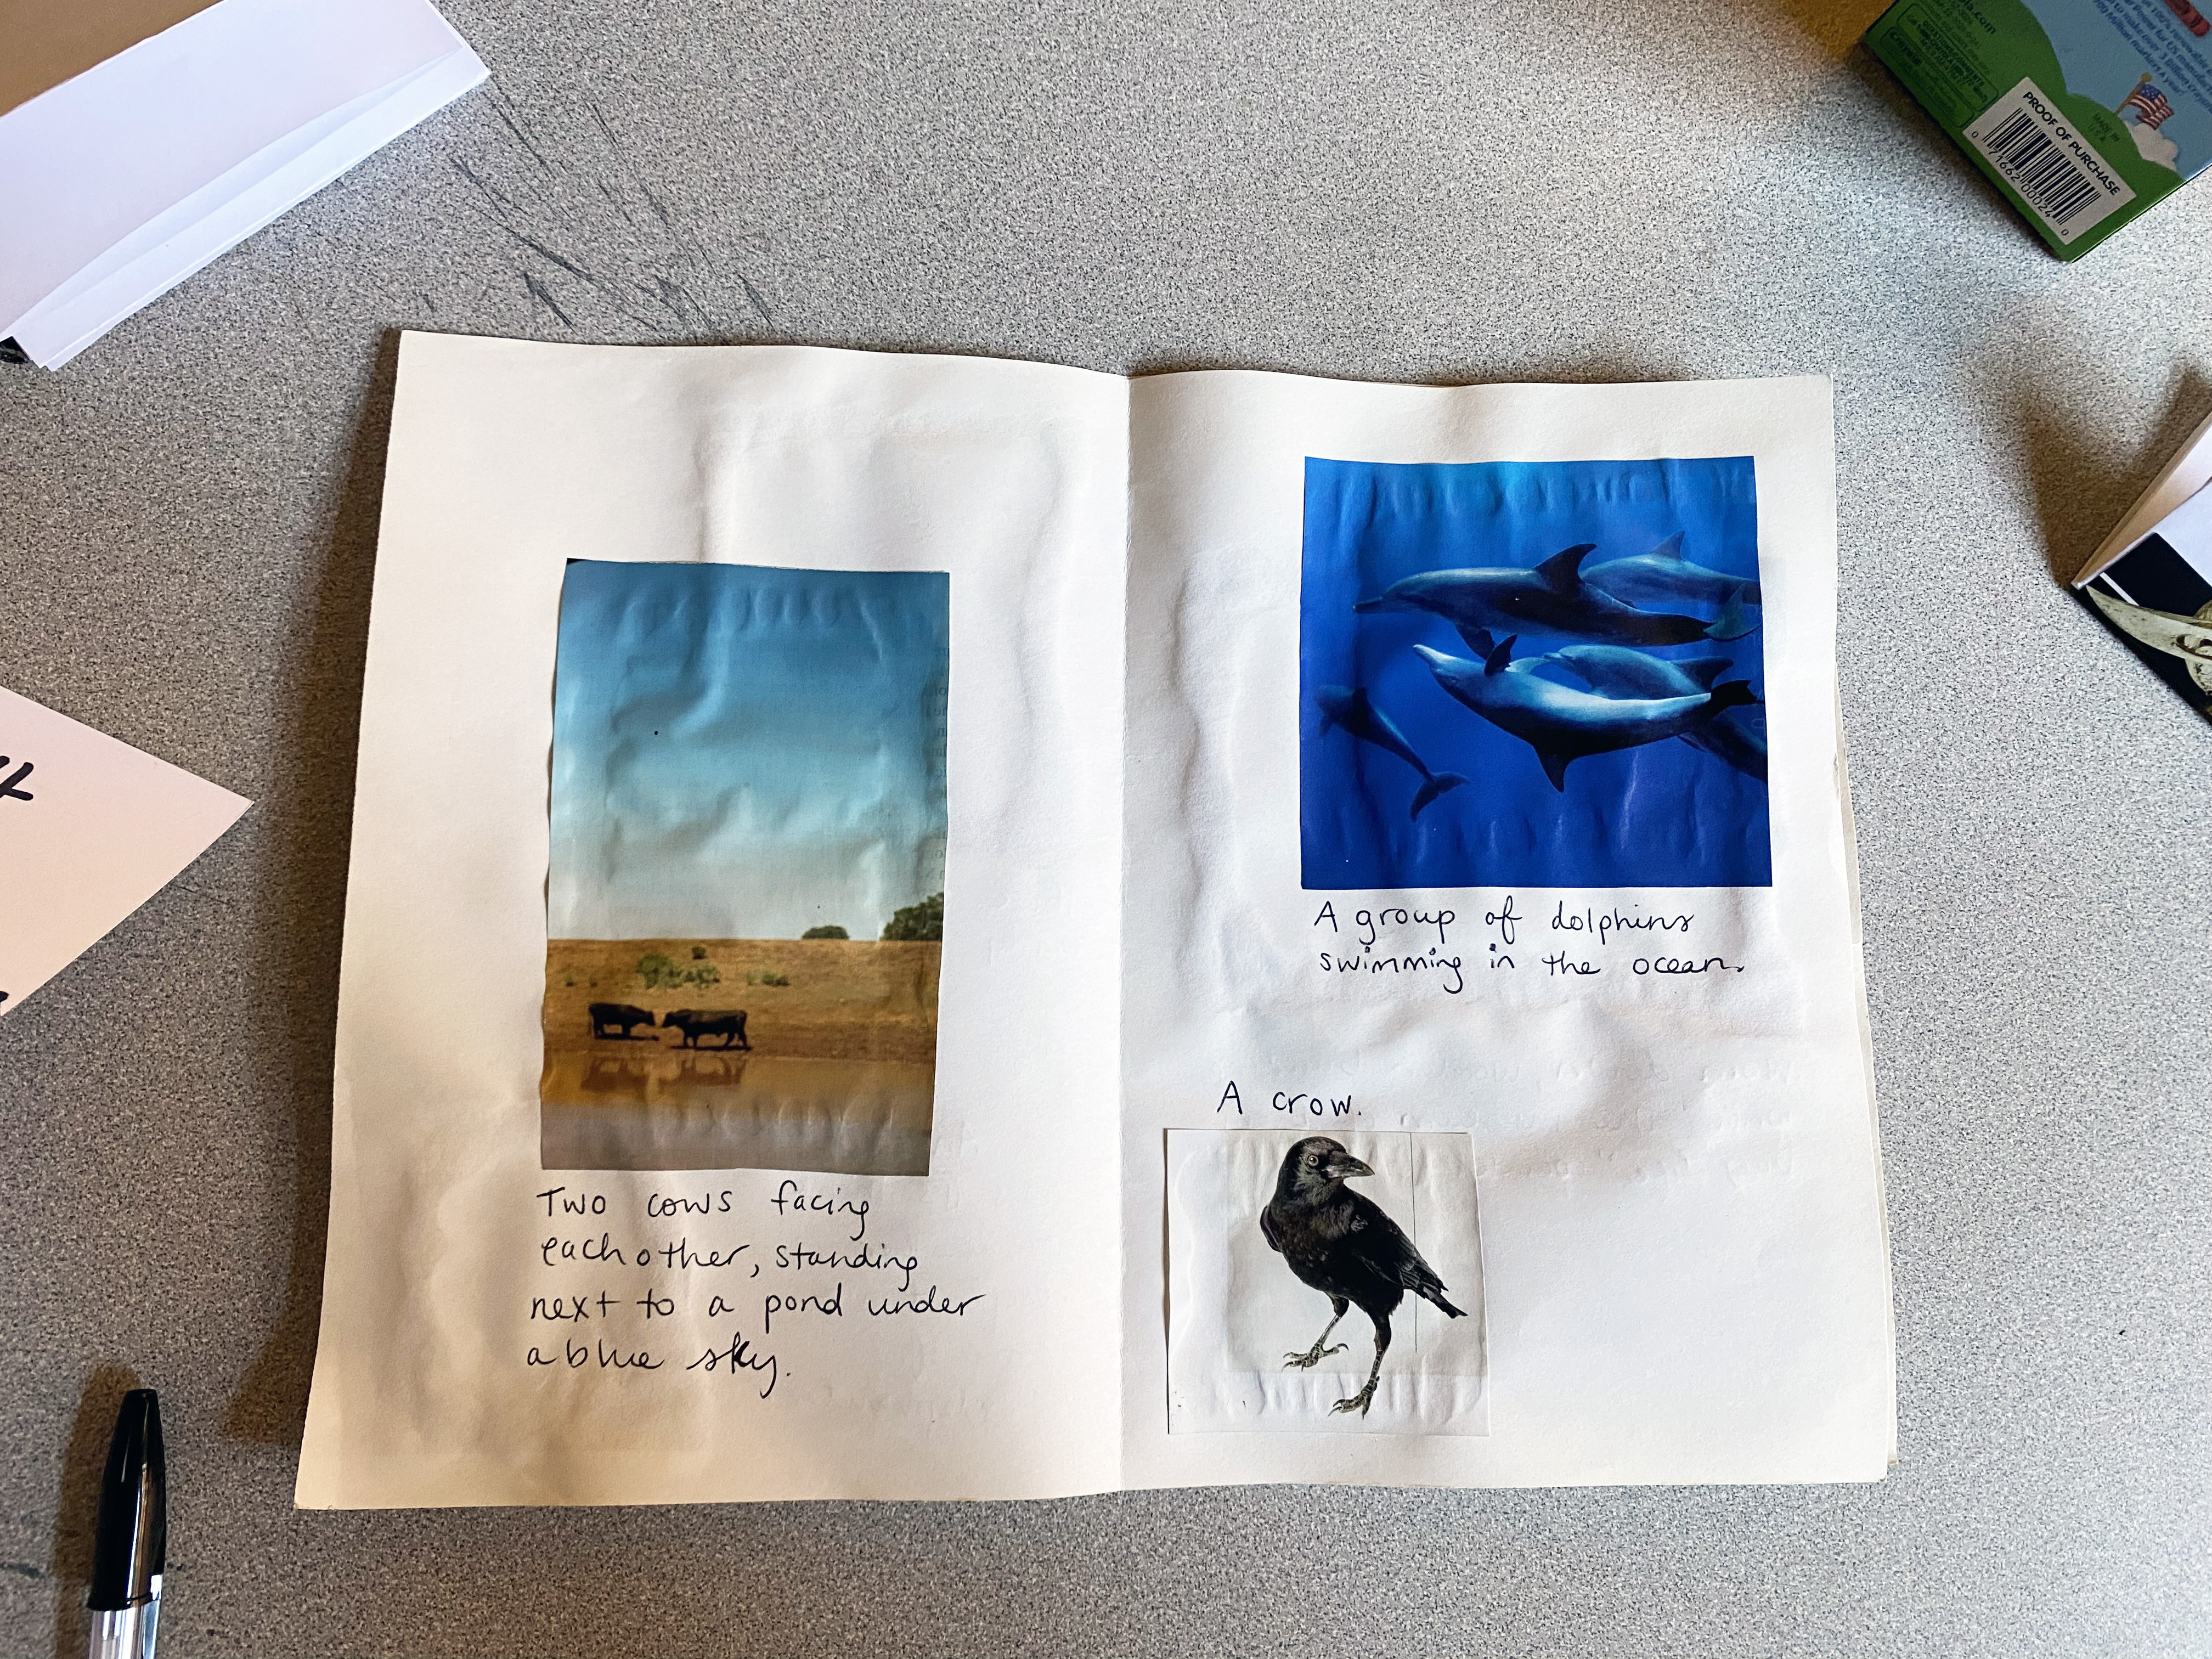
If you were writing alt text / an image description for these images - what would you write? Go ahead and try to write either "alt text" or an image description of each image you chose.
Alt text is something that exists in a digital context. Since we are practicing on paper - there's really no harm in getting this "wrong".
If you want, you can even start to brainstorm on a separate sheet of paper before writing your alt text / image descriptions in your zine. You can start by:
- listing what you see
- describing what is happening in the photo
- listing any words that come to mind when you look at that photo
Once you've done some free-writing, you can look at your notes and use them to write a 'final draft' of your alt text / image description.
If you decide to do this workshop with others, you can work together to come up with your alt text / image descriptions! You can brainstorm with one another, asking each other how they perceive the photo / how they would describe it. This can be really helpful and it can make the process a lot easier, especially when you're first starting out!
Here's a photo of the zine that I made when doing this workshop for the first time:
That's it! As I mentioned, feel free to adapt the workshop to fit your needs and I hope you're able to have fun with it!
